Tank Lining and Coating: What’s the Difference — and Which Do You Actually Need?
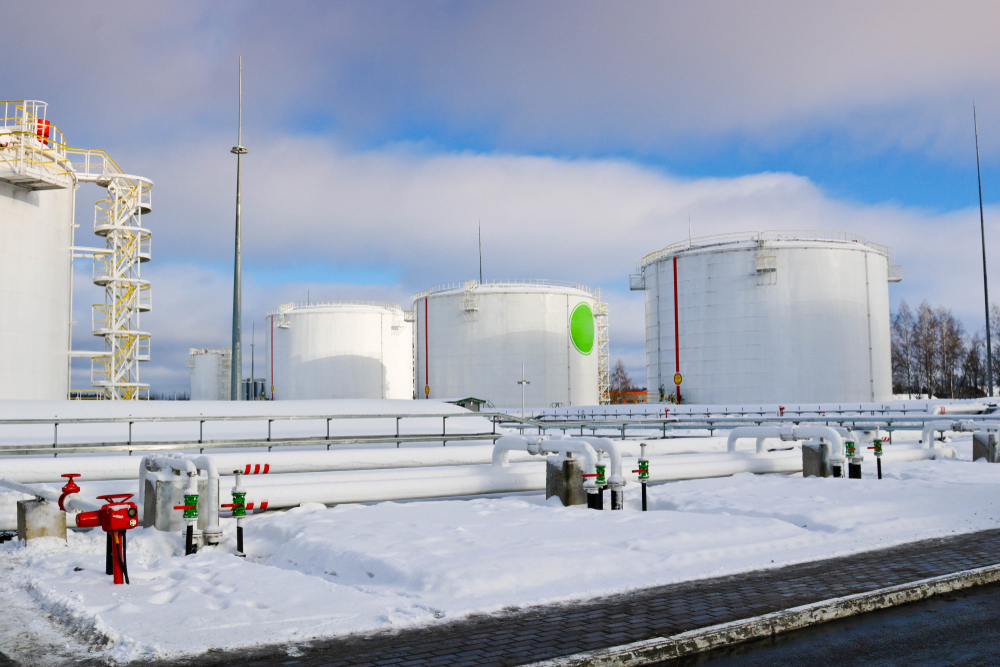
Industrial tanks operate under some of the harshest conditions in any facility. Between chemical attack, abrasion, high temperatures, and constant mechanical stress, tank surfaces can deteriorate quickly without the best protective system.
That’s why choosing between a tank coating and a tank lining isn’t a small decision — it directly impacts your tank’s lifespan, maintenance costs, safety, and overall reliability.
Here’s the short answer to how you make that decision:
- If your tank operates in mild, low-abrasion environments, a coating may be sufficient.
- If you’re working with aggressive chemicals, heat, or solids, you need a rubber lining to prevent corrosion and extend the life of your tank.
Despite this, coatings and linings are often confused or used interchangeably, leading to premature failures and unexpected downtime.
This guide breaks down the differences between the two systems and explains when each is appropriate, so you can make an informed choice that matches your tank’s environment and performance requirements.
What Is a Tank Coating? (And When It’s Enough)
A tank coating is a thin-film protective layer (typically made from epoxy, polyurethane, vinyl ester, or similar resins) designed to shield a tank’s surface from general corrosion and environmental exposure.
Unlike rubber linings, coatings are applied in mils, not inches, and create a hard, chemically resistant barrier between the substrate and whatever the tank holds.
How Tank Coatings Protect
Coatings work by forming a continuous, cured film that provides:
- Chemical resistance against mild acids, alkalis, or water-based solutions
- Corrosion protection for steel and concrete substrates
- UV and weather resistance in atmospheric service
- Quick installation with minimal downtime compared to thicker lining systems
When used in the right environment, a high-performance coating can offer a reliable level of protection at a relatively low cost.
When a Coating Is the Right Choice
Coatings are typically appropriate when the service conditions are non-aggressive. They perform well in:
- Mild chemical exposure
- Low-abrasion environments
- Atmospheric or intermittent service
- Water storage applications with minimal solids
In these situations, the chemical attack is limited, temperatures are moderate, and the risk of mechanical damage is low, making a coating a cost-effective solution.
Limitations to Keep in Mind
Because coatings are thin, they have built-in constraints, especially in demanding environments:
- Poor impact resistance — thin films fail quickly under mechanical stress
- Limited chemical tolerance at high concentrations or extreme pH
- Not suitable for high temperatures
- Microporosity can allow slow corrosion underneath the surface
- Shorter service life when exposed to abrasion or aggressive media
In short, coatings provide adequate protection for lighter-duty applications, but they are not engineered for severe chemical, thermal, or abrasive environments.
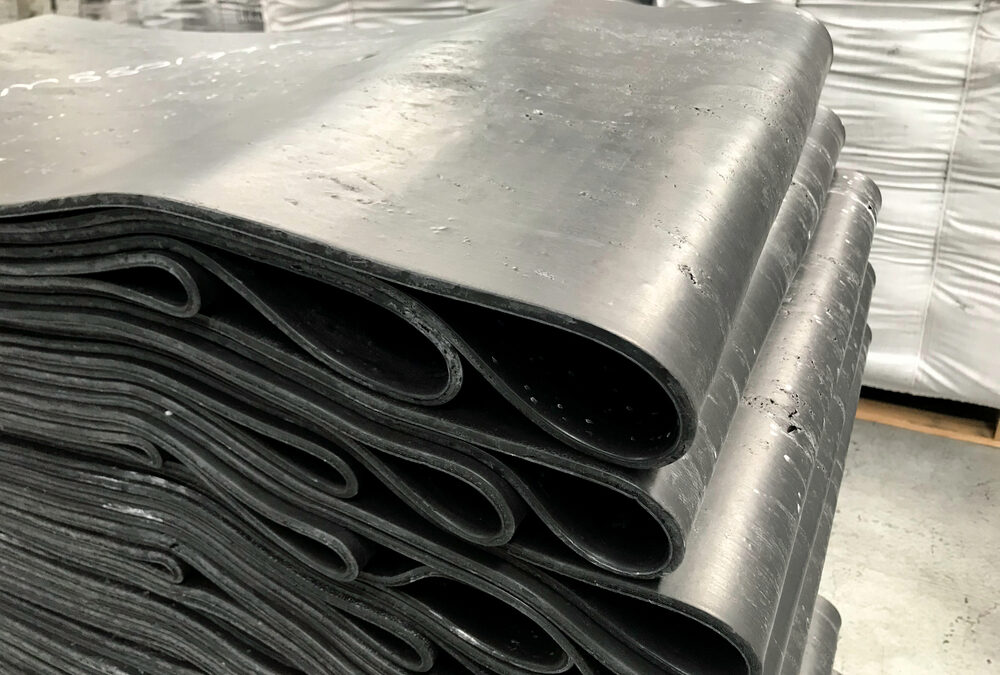
What Is a Rubber Lining? (And Why It’s Needed for Severe Service)
A rubber lining is a thick, bonded elastomer layer engineered to protect tanks, pipes, and vessels operating in harsh, high-demand environments.
Unlike thin-film coatings, rubber linings are applied in fractions of an inch (typically 1/8” to 1/2”). This gives them the strength and flexibility needed to withstand extreme chemical, thermal, and mechanical stress.
Rubber linings are widely used in industries where equipment is exposed to aggressive media or heavy abrasion—including petrochemical processing, mining, steel production, and large-scale water treatment.
How Rubber Linings Protect Tanks
Rubber linings provide multiple layers of protection that coatings cannot match:
- Exceptional chemical resistance to acids, alkalis, solvents, and high-concentration media
- High abrasion resistance ideal for slurries, solids, and hydrotransport
- Impact absorption due to the elastomer’s inherent flexibility
- Thermal resistance for tanks operating at elevated or fluctuating temperatures
- Long-term corrosion protection through a fully bonded, impermeable barrier
Because rubber linings can stretch, compress, and absorb energy, they withstand conditions that would quickly crack or delaminate a rigid coating.
Common Rubber Lining Materials
Material selection depends on the tank’s service environment, but common elastomers include:
- Natural rubber — excellent for abrasion and mild chemical service
- Neoprene — versatile and oil-resistant
- Chlorobutyl & bromobutyl — outstanding resistance to strong acids
- Nitrile — superior performance in hydrocarbon environments
These materials can be tailored to match exact chemical, abrasion, and temperature requirements.
When Rubber Linings Are the Superior Choice
Rubber linings excel in severe-service environments where protection failures are costly or dangerous. They are ideal for:
- High-temperature or steam-assisted processes
- Aggressive acids, caustics, and oxidizing chemicals
- Abrasive slurries, solids, or agitation
- Mining and hydrotransport systems
- Steel mill pickling lines
- Chemical processing tanks
- Any tank expected to withstand continuous, high-intensity service
Why Rubber Linings Often Last Decades
Rubber linings last decades, while coatings often fail in months.
Because rubber linings are thicker, more flexible, and more chemically resistant, they maintain integrity far longer than thin-film coatings. In many severe environments, a properly installed rubber lining can deliver multi-decade performance with minimal downtime or repair.
Head-to-Head Comparison: Tank Lining vs. Tank Coating
When engineers compare tank linings and coatings, the differences are not subtle—they’re fundamental.
- Coatings provide thin-film chemical protection suitable for light-duty environments, while rubber linings deliver heavy-duty, long-term defense against the most aggressive conditions.
This side-by-side comparison helps clarify where each solution fits.
Comparison Table: Tank Coating vs. Rubber Lining

Why the Differences Matter
Coatings may appear cost-effective initially, but their limited durability makes them poor performers in harsh environments. Frequent recoating, downtime, and tank failures can quickly exceed the cost of a one-time rubber lining installation.
Rubber linings, on the other hand, significantly reduce long-term maintenance and unplanned outages, making them the preferred solution for chemical processing, mining, steel production, and any application involving abrasive materials or extremely corrosive media.
Performance Factors to Consider When Choosing Between Tank Lining vs. Coating
While comparison tables help highlight the differences, the real decision comes down to your tank’s service environment.
Selecting the wrong protective system can significantly reduce tank life and lead to unexpected downtime, contamination, or costly failures.
Here are the key performance variables engineers should evaluate before choosing a coating or rubber lining:
1. Chemical Environment
Understanding chemical concentration, pH, oxidizers, and immersion cycles is essential.
- Mild, neutral, or low-concentration chemicals → coating may be adequate
- Strong acids, caustics, oxidizers, or high concentrations → rubber lining is required
Rubber linings are specifically engineered for aggressive chemical service where coatings cannot survive.
2. Operating Temperature
Heat accelerates corrosion and degrades thin-film coatings.
- Moderate temperatures → coatings can work
- Elevated or fluctuating temperatures → rubber linings maintain integrity
Rubber linings are designed to flex and expand without cracking under thermal stress.
3. Abrasion or Solids Present
If the tank handles any solids, agitation, or flow:
- Coatings wear quickly and expose the substrate
- Rubber linings absorb the abrasion and protect the tank
This is especially important in mining, steel mills, clarifiers, and hydrotransport.
4. Pressure Fluctuations or Mechanical Impact
Brittle coatings crack or chip under mechanical stress.
Flexible rubber linings handle impact, vibration, and movement without failing.
5. Tank Material
The substrate matters. Rubber linings bond well to:
- Steel
- Concrete
- FRP
This allows rubber linings to be used across a wider variety of industrial structures than many coatings can.
6. Required Lifespan
If the tank is expected to operate for decades, a coating may not meet longevity targets.
Rubber linings provide long-term, often multi-decade service in continuous operation.
7. Downtime Tolerance
If downtime is expensive or unacceptable:
- Frequent recoating cycles are impractical
- Rubber linings dramatically reduce interruptions
This is one of the biggest drivers behind choosing rubber over coating.
8. Industry Standards or Compliance Requirements
Certain industries—especially chemical processing, steel pickling, and water treatment—have more stringent material requirements that coatings often do not meet.
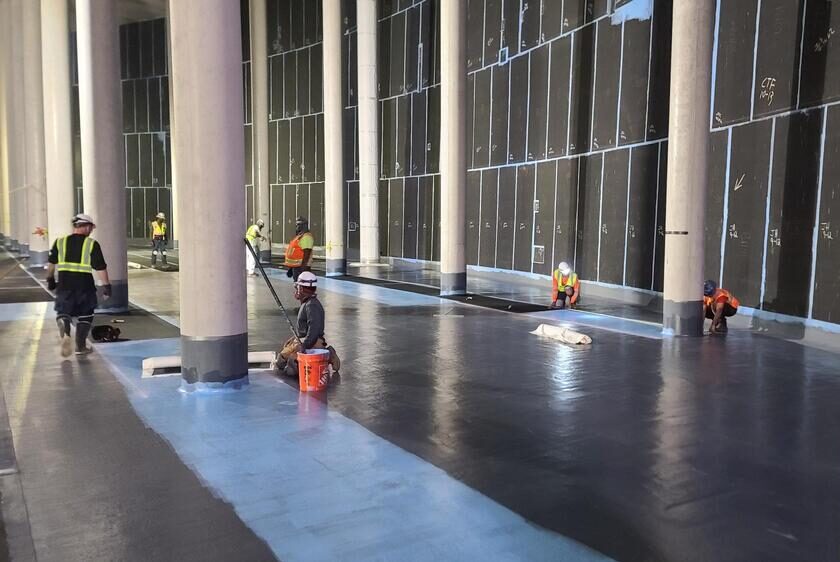
Installation Differences: What Engineers Need to Know
The installation process is crucial in the long-term performance of both coatings and rubber linings.
Coatings offer simpler application, but rubber linings require a more specialized, controlled process — and that’s exactly why they perform better in severe-service environments.
Below is a breakdown of how each system is installed and what engineers should know before selecting a protective solution.
Coating Installation
Tank coatings are applied as thin liquid films that cure into a hard protective layer. The process is faster and less complex than lining installation, but also more sensitive to surface conditions.
Typical coating installation includes:
- Surface Preparation:
Abrasive blasting to achieve the proper surface profile and cleanliness.
(Improper prep is one of the most common causes of premature coating failure.) - Application of Multiple Thin Layers:
Coatings are usually sprayed or rolled on in several passes to build up the required dry-film thickness. - Ambient Curing:
Cure times vary depending on the coating chemistry, humidity, and temperature.
Environmental conditions must be controlled to avoid amine blush, solvent entrapment, or incomplete curing.
Key takeaway:
Coatings cure faster and are easier to apply, but are more vulnerable to installation inconsistencies and environmental factors.
Rubber Lining Installation
Rubber linings require specialized expertise, precise bonding steps, and controlled curing conditions to ensure optimal performance. Their performance depends heavily on proper installation.
Typical rubber lining installation includes:
- Surface Prep to AMPP Standards:
Steel or concrete surfaces must be blasted clean and profiled for optimal adhesion. - Adhesive and Primer Systems:
Multiple bonding layers are applied to ensure a strong mechanical and chemical bond between the substrate and the rubber sheet. - Hand Stitching and Pressure Rolling:
Sheets are positioned, stitched, and rolled meticulously to eliminate trapped air and ensure full adhesion. - Curing:
Depending on the material, curing may be done via:- Steam vulcanization
- Autoclave curing
- Chemical (cold) cure – proper curing locks the rubber’s performance properties into place.
- Quality Assurance:
Post-cure inspections, spark testing, patching of holidays/defects, and verification of bond integrity.
Why Installation Quality Matters More for Linings:
Rubber linings are thicker, softer, and more mechanically complex than coatings.
Each step—from surface profile to final cure—must be performed correctly to ensure decades-long performance. An improperly installed lining may fail prematurely even if the material itself is correct for the service environment.
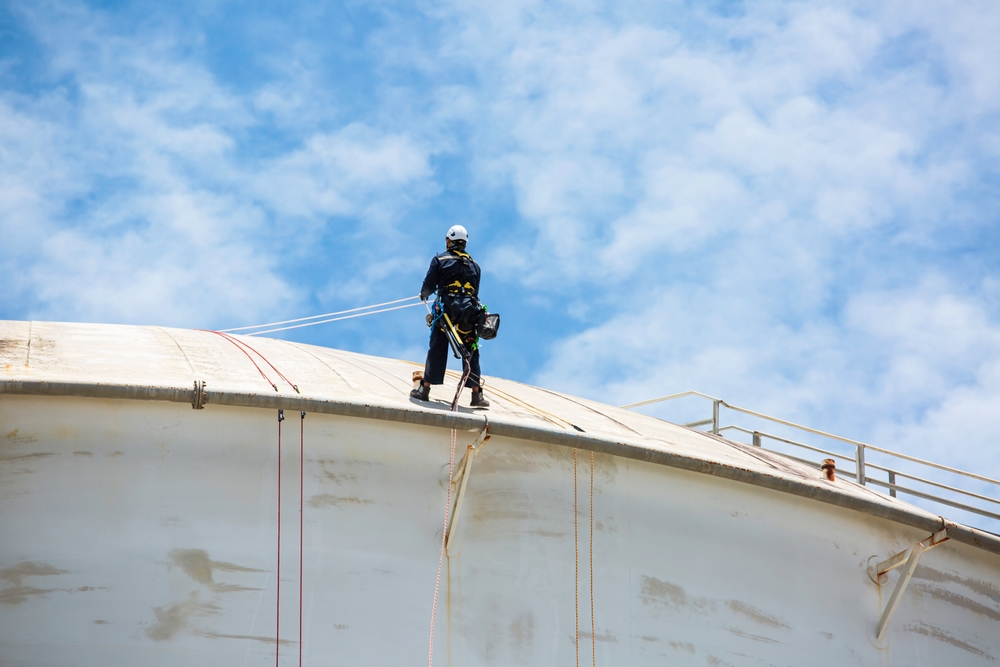
Maintenance & Inspection: What to Expect Over the Tank’s Lifetime
Once installed, both coatings and rubber linings require periodic inspection—but the type and frequency of maintenance differ significantly.
Understanding these differences helps facility teams plan realistic maintenance schedules, minimize downtime, and extend tank service life.
Coating Maintenance & Inspection
Because coatings are thin films, they are more susceptible to environmental and mechanical damage. Their performance depends heavily on environmental stability and consistent film integrity.
Typical coating maintenance includes:
- Frequent visual inspections for cracking, blistering, pinholes, or porosity
- Monitoring for chemical attack in areas exposed to immersion or splash zones
- Spot repairs when early deterioration is visible
- Full recoating cycles every few years, depending on service conditions
Coatings often degrade gradually. If early signs of damage are missed, corrosion can progress underneath the film, leading to unexpected failures and costly downtime.
Bottom line:
Coatings require more frequent monitoring and have shorter maintenance cycles, especially in environments involving immersion, abrasion, or chemical exposure.
Rubber Linings Maintenance & Inspection
Rubber linings, by design, offer long-term, predictable performance with minimal upkeep. Their thickness and flexibility protect against impact, erosion, and chemical attack far better than coatings.
Typical rubber lining maintenance includes:
- Periodic visual inspections for mechanical damage, seam separation, or swelling
- Regular spark testing to confirm lining integrity and detect holidays
- Simple patch repairs that can often be completed without a full system shutdown
- Long, predictable service intervals with fewer unplanned maintenance events
Because rubber linings do not crack or embrittle like coatings, they provide a stable, dependable barrier over decades of use.
Bottom line:
Rubber linings drastically reduce long-term maintenance needs, extend tank life, and offer reliable protection in high-impact and high-corrosion environments.
So Which One Do You Actually Need? Tank Lining or Tank Coating?
Choosing the right protective system comes down to one question: What conditions will your tank actually face?
Choose a Coating If…
A coating may be the right choice when the tank operates under mild, predictable conditions:
- Chemical exposure is light to moderate
- Abrasion or solids are minimal or nonexistent
- Operating temperatures remain low and stable
- Budget limitations prioritize lower upfront cost
- Downtime is acceptable for future recoat cycles
- The tank is used for water storage, neutral solutions, or atmospheric service
In these cases, coatings provide a cost-effective and fast-to-install solution that offers adequate protection for light-duty applications.
Choose a Rubber Lining If…
A rubber lining is the clear choice when your application involves aggressive, variable, or high-demand service conditions:
- You need multi-decade corrosion protection
- The tank holds strong acids, caustics, or high-concentration chemicals
- Abrasion is present (slurries, solids, mixing, agitation)
- Temperatures are elevated or fluctuate regularly
- You need an extended lifespan and minimal downtime
- The tank is part of mining, steel, petrochemical, water treatment, or similar heavy-duty operations
- Long-term lifecycle cost is a priority over upfront savings
Rubber linings deliver significantly higher performance and reliability, especially when failure could lead to safety issues, unscheduled shutdowns, or expensive repairs.
How to Decide with Confidence:
If your tank faces even one severe-service condition—high heat, aggressive chemistry, or abrasion—a rubber lining is usually the safer long-term choice. Coatings work well only when all conditions are mild and consistent.
When in doubt, selecting the system that matches the harshest condition your equipment may experience is the most cost-effective strategy.
Why Partner With US Rubber for Tank Linings
Selecting the right protective system is only half the equation. For industries that operate in harsh, high-demand environments, partnering with a top-notch specialist makes all the difference.
US Rubber is a trusted provider of rubber lining solutions for some of the most demanding industrial applications. With 40+ years of experience and a dedicated focus on severe-service performance, we deliver linings that withstand the toughest chemical, thermal, and mechanical conditions.
Turnkey Installation: Surface Prep to Final Cure
US Rubber manages every stage, including:
- SSPC surface preparation
- Primer and adhesive systems
- Hand-stitched and pressure-rolled lining installation
- Steam, autoclave, or chemical cure
- Post-cure inspection and spark testing
Our turnkey approach ensures consistent bond strength and long-term integrity.
Capabilities Built for Heavy Industry
US Rubber routinely handles complex lining projects, including:
- Storage tanks
- Pressure vessels
- Clarifiers
- Railcars
- Reactors and scrubbers
- Large-diameter piping
Our experience spans multiple industrial sectors, including:
- Petrochemical
- Mining
- Water and wastewater treatment
- Steel mills
- Nuclear
- Battery production
- And many other severe-service environments
With a focus on lifecycle cost rather than temporary fixes, US Rubber helps facilities reduce unplanned downtime, extend tank life, and increase safety — all while delivering consistent performance in the harshest operating conditions.
Ready to determine whether a coating or rubber lining is right for your application?
Our team will assess your environment and recommend the best protective system for long-term performance. Contact US Rubber today to request a consultation or get a quote.